eventStreams · Plan: 👑 Ultra Device PlanSend events to an HTTPS webhook
Use this walkthrough to receive domain events, telemetry, and connection changes at your HTTPS endpoint. For device system logs, use Azure Event Hubs instead. See the ESD overview for supported events and delivery guarantees.
1. Prepare your receiver
Have an HTTPS endpoint ready to accept JSON POST requests. Choose a signing secret of at least
32 characters and store it securely in your receiver. The secret is write-only in signageOS: you
cannot retrieve it from Box or the API after saving it.
Your receiver should verify each signature using the raw request body, then return a 2xx response
only after accepting the event, for example by saving it to durable storage for processing. Store
its body id with the accepted event so repeated deliveries can be acknowledged without repeating
side effects. Handle events arriving out of order.
Read the webhook response rules
before implementing your receiver. Most 4xx responses stop delivery immediately; retryable failures
are retried only for eligible event categories and only within a finite attempt budget. Returning
2xx before safely accepting the event can lose it without another attempt.
The event catalogue documents the envelope, headers, and payloads.
Choose either Box or REST for the next step; you do not need to create the exporter twice.
2. Configure the exporter
In Box
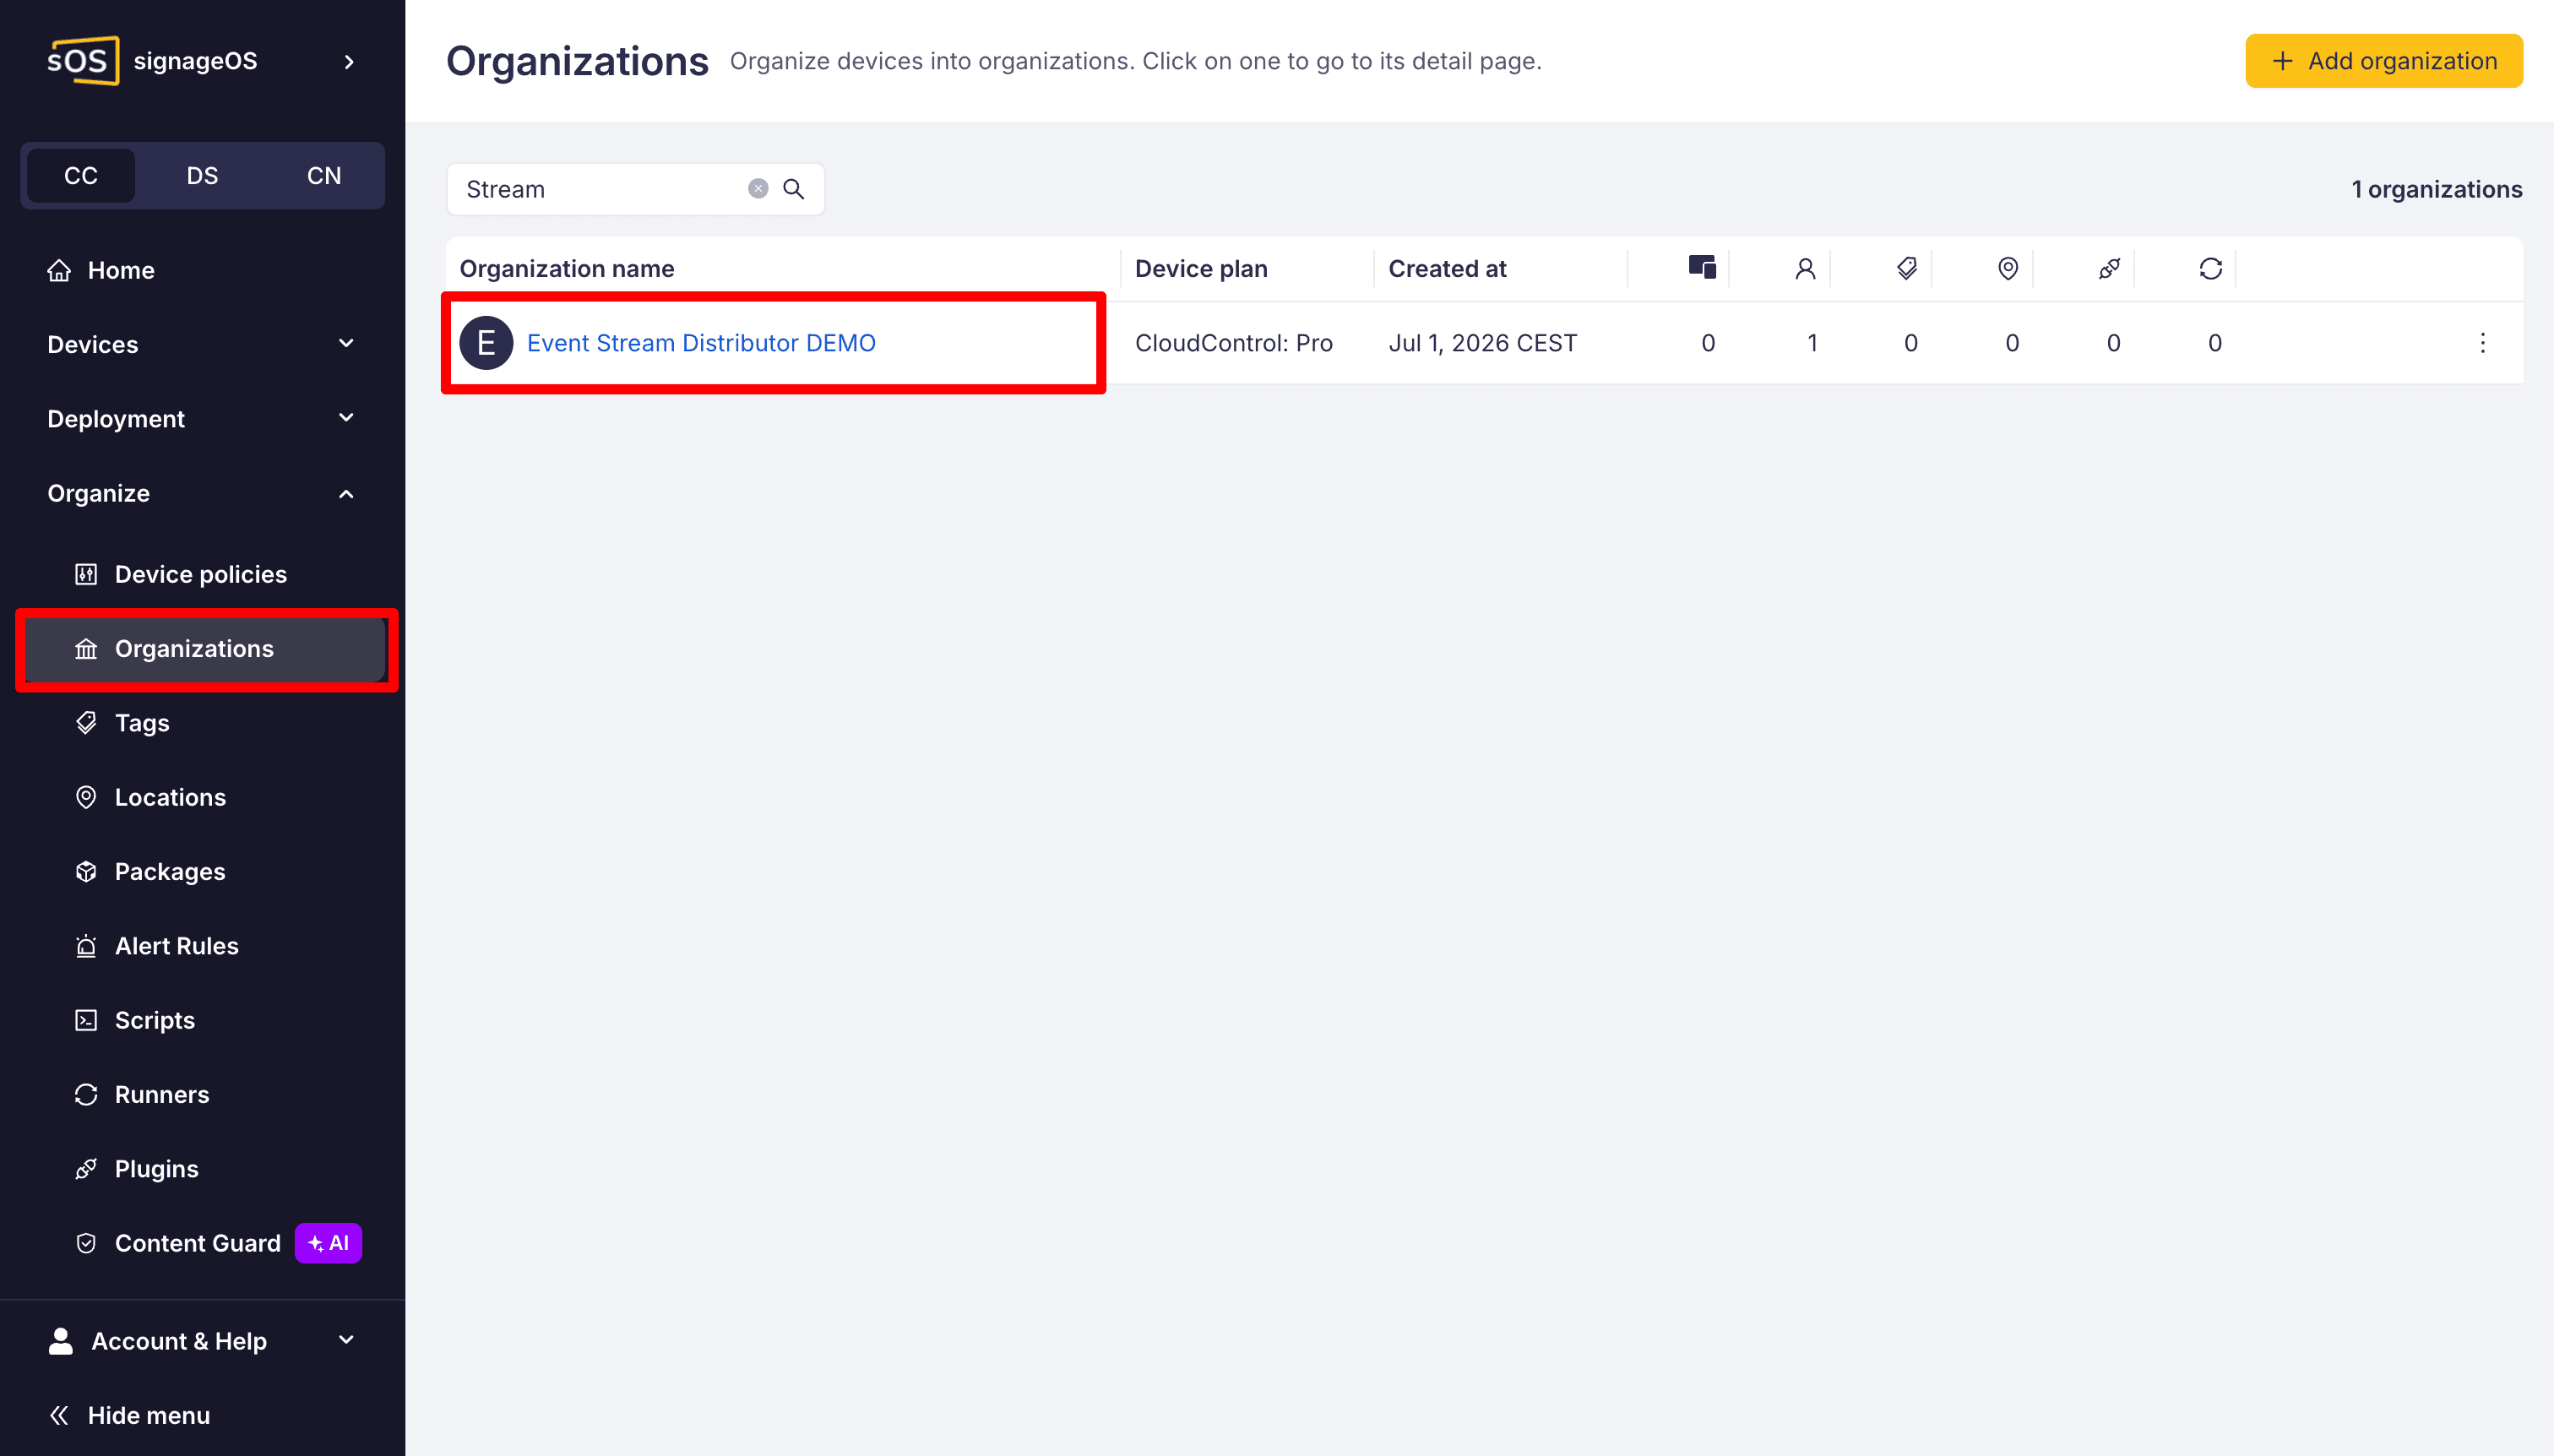
Select your organization, open its detail, and go to Event Streams.
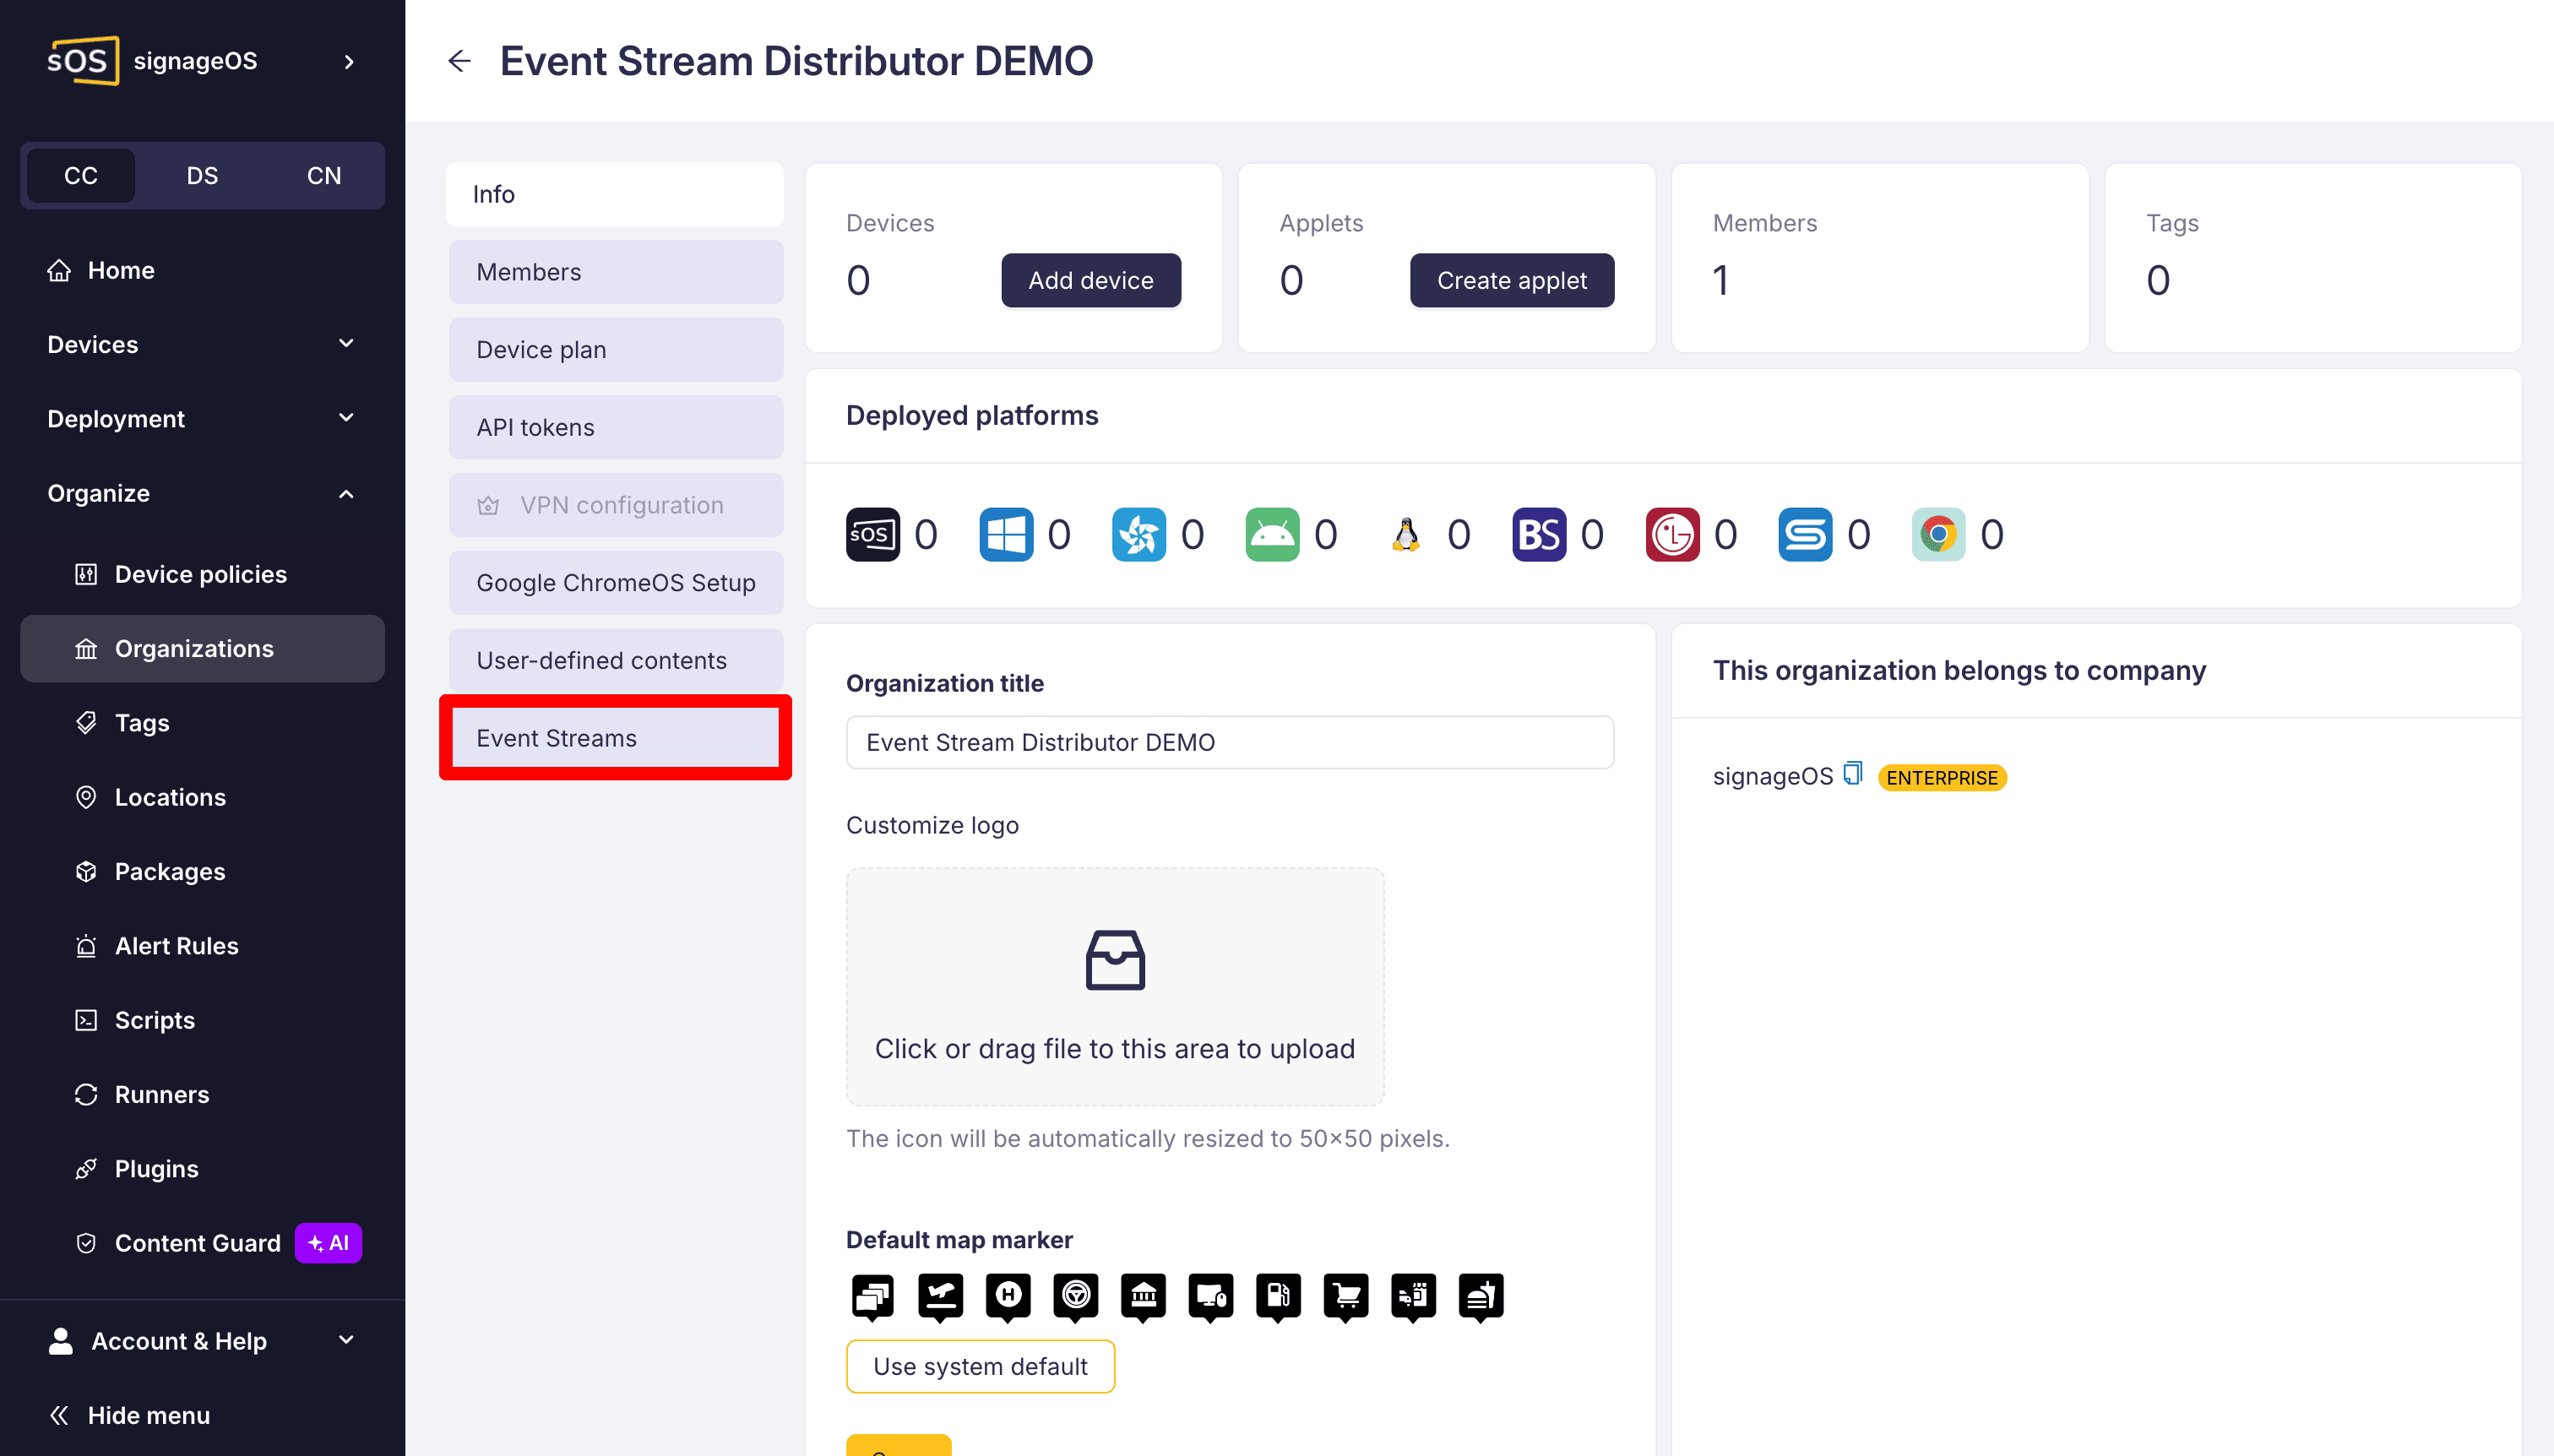
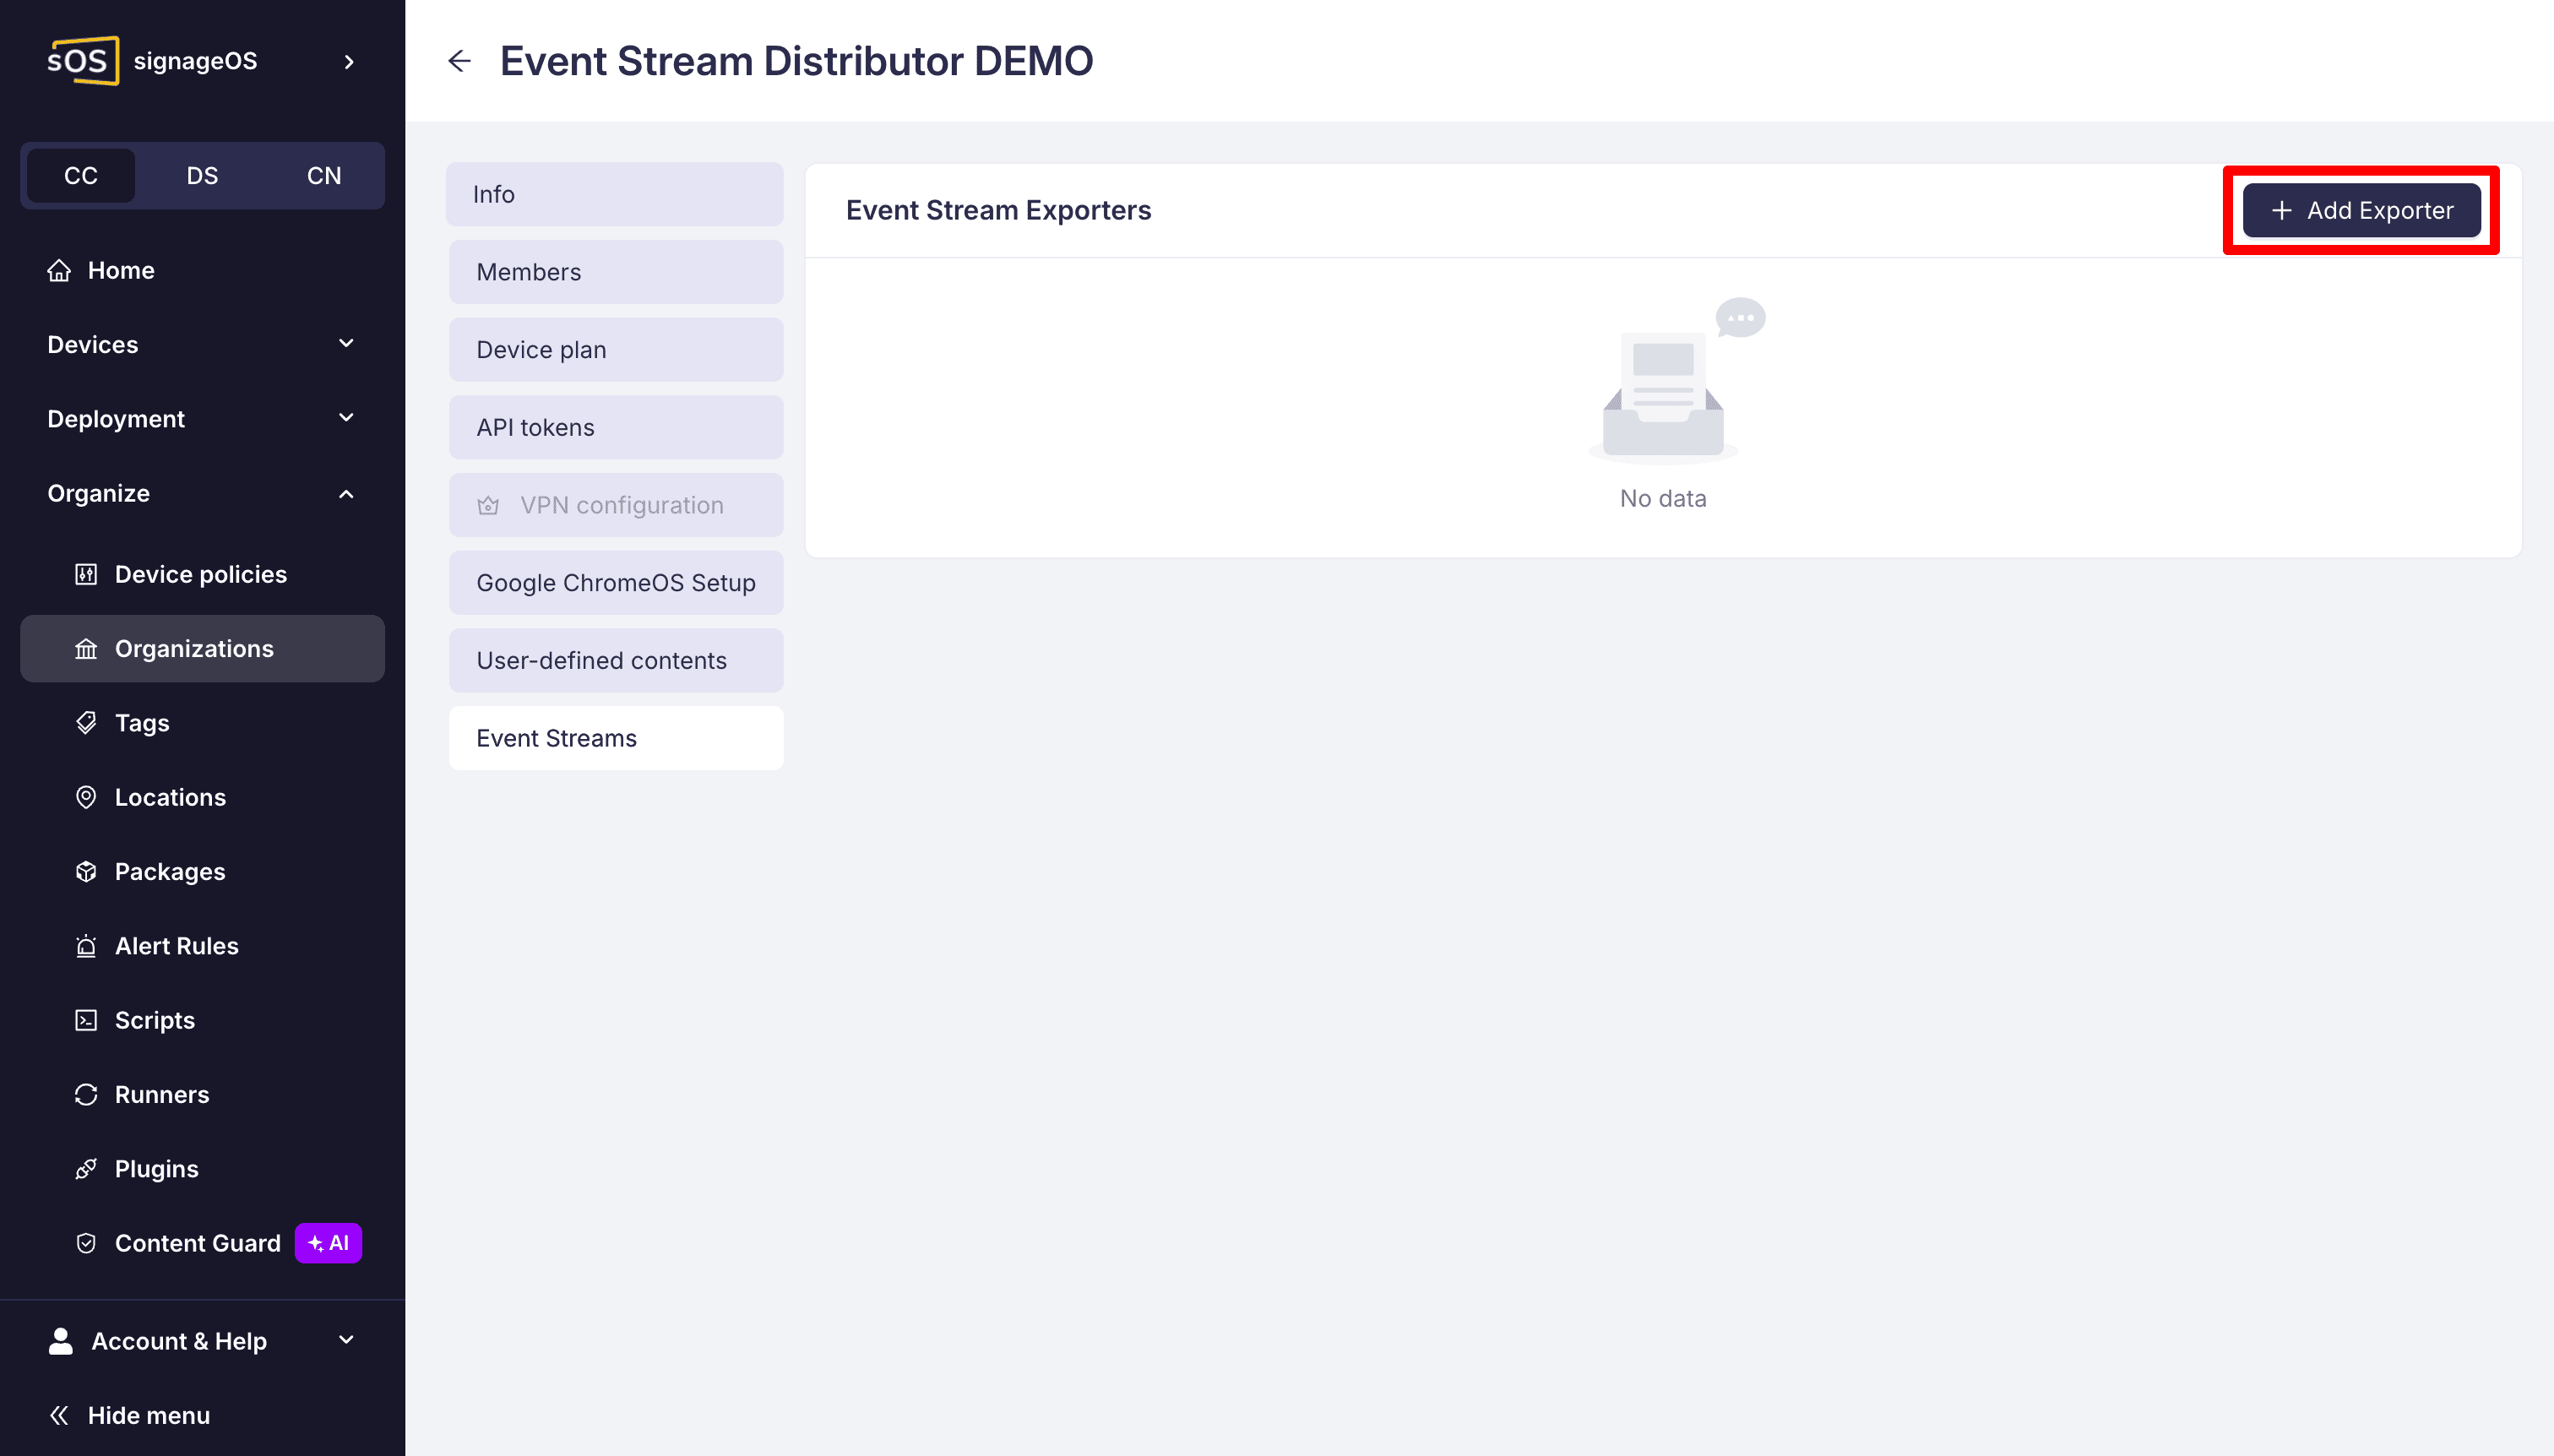
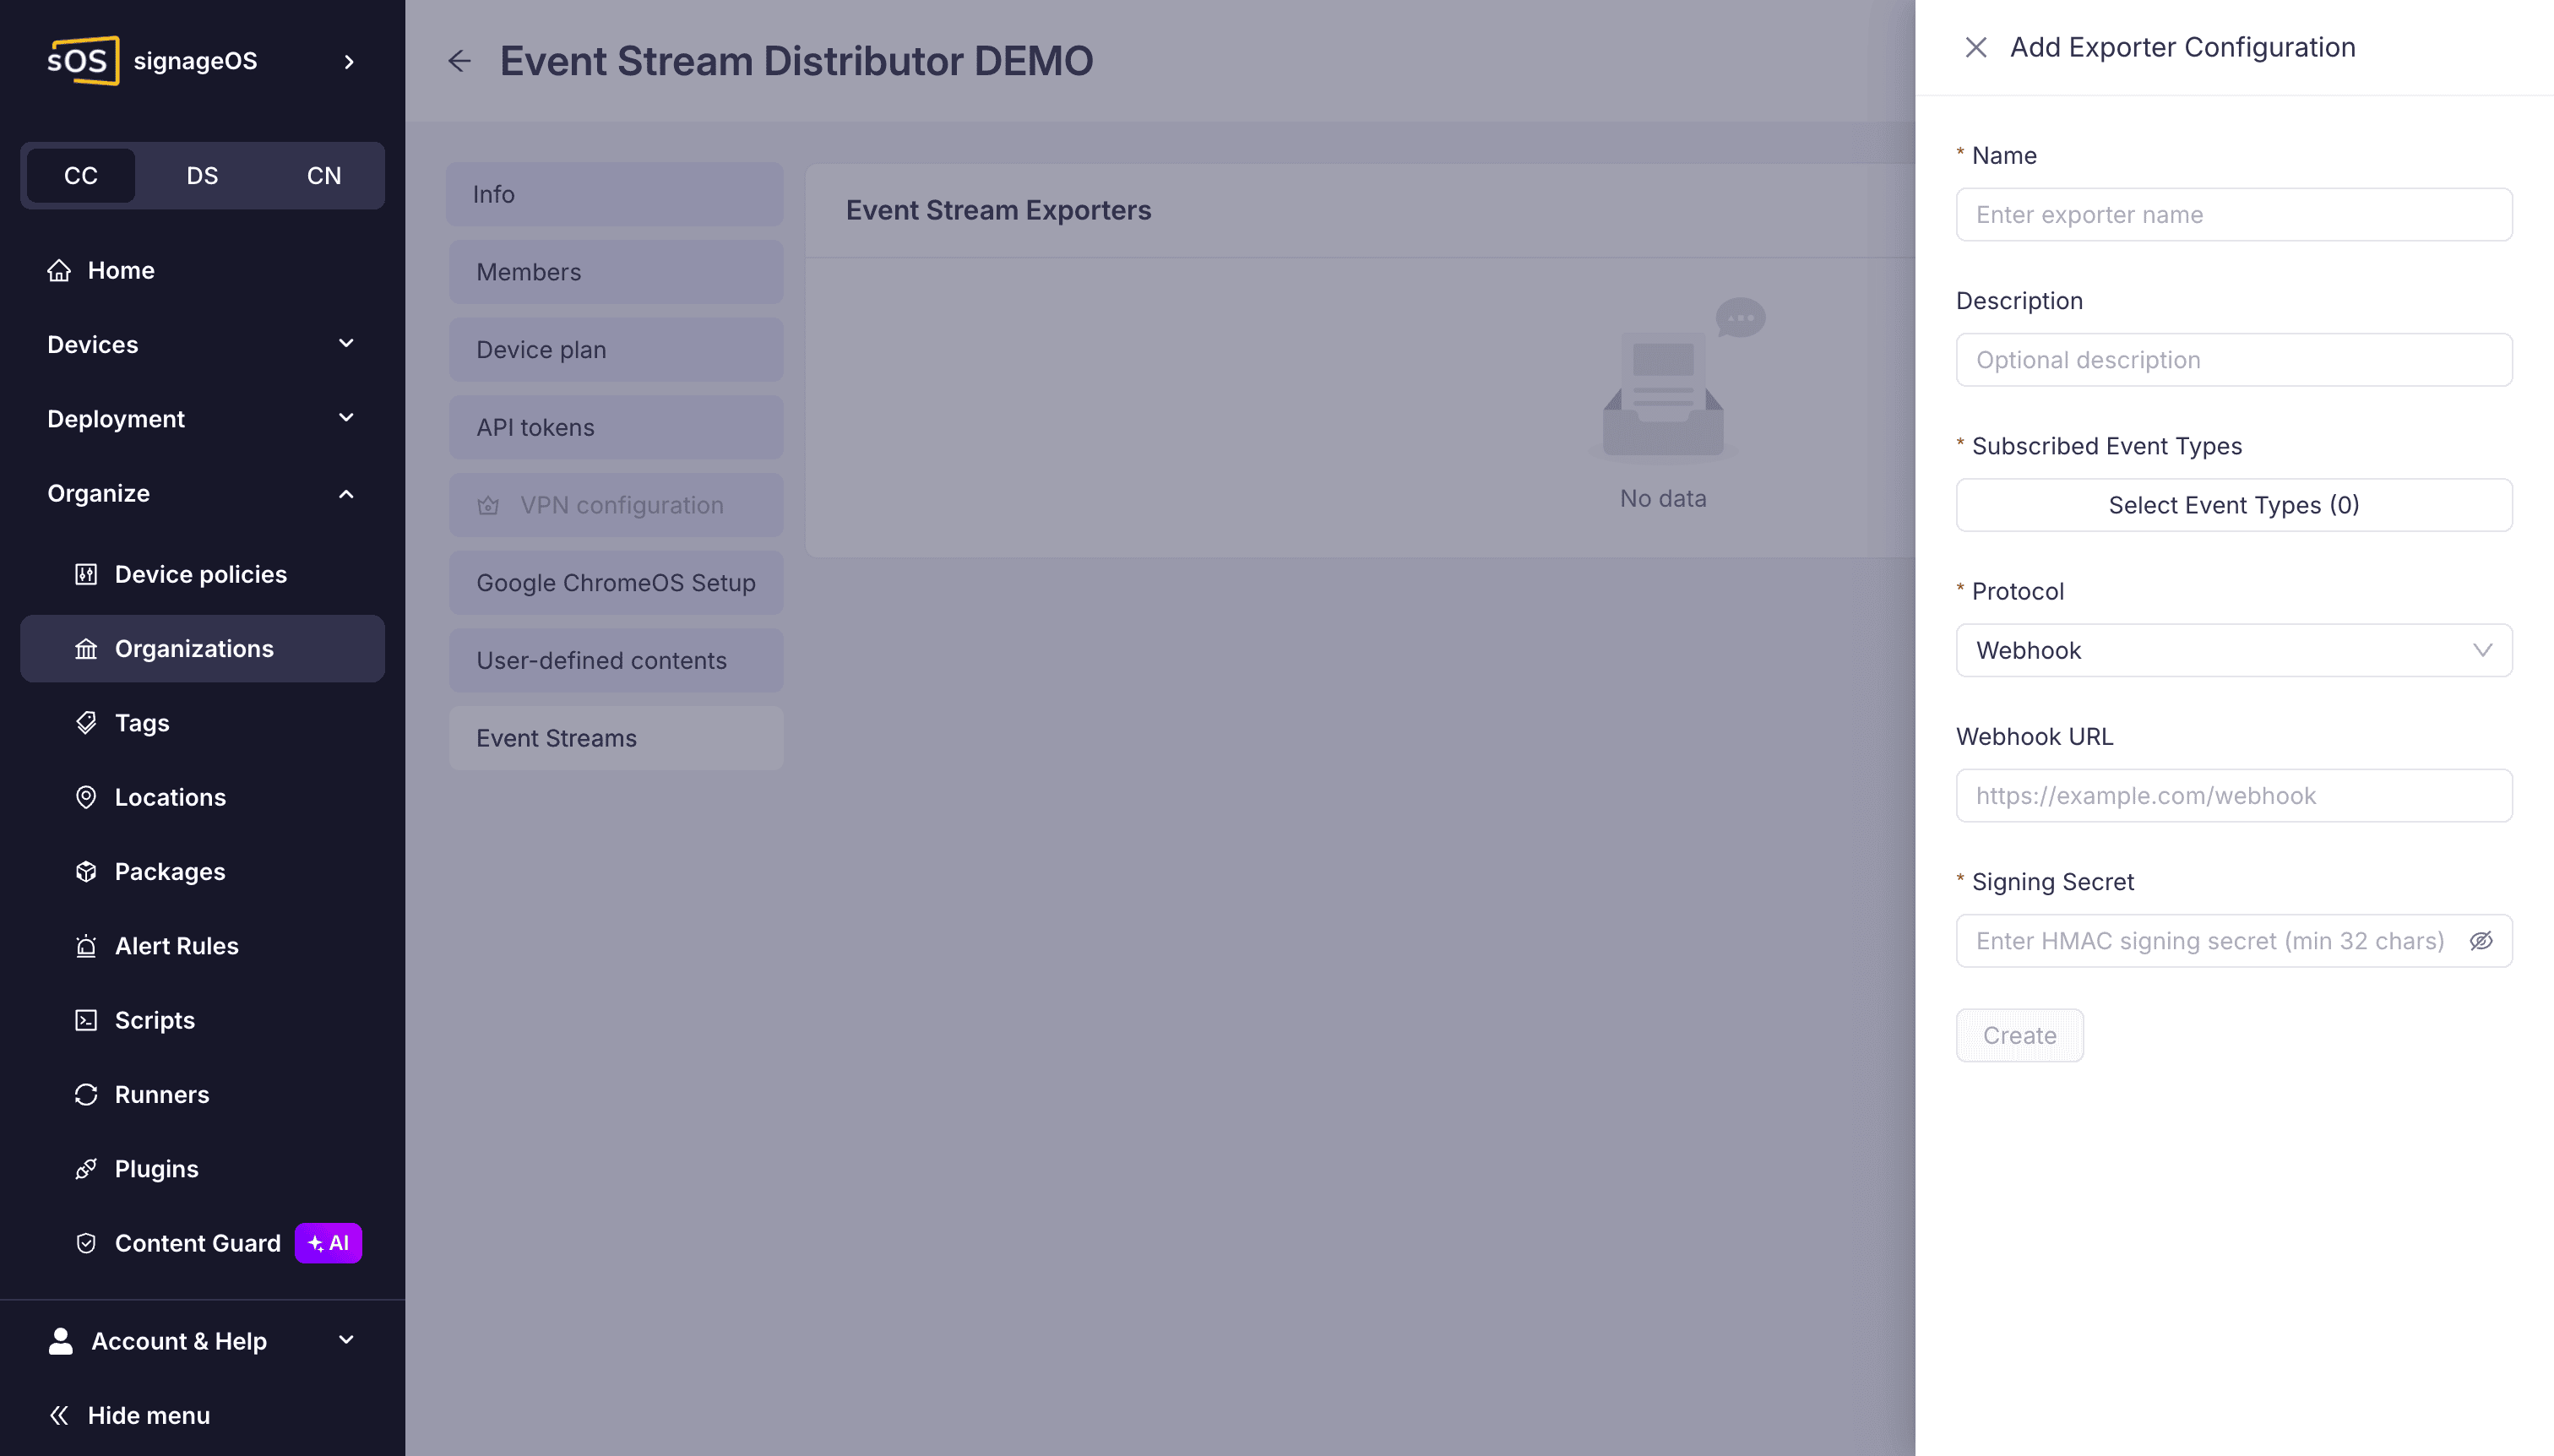
Add an exporter and choose the webhook protocol. Enter a name, optional description, HTTPS URL, and your signing secret. Select the Format version your receiver supports; new exporters pre-select the newest version.
Click Select Event Types, select the event types you need, and click Set. Box groups the types
and shows the last part of each identifier; hover over a type to see its full identifier. To follow the
connection-event check below, select DeviceConnectionAdded and DeviceConnectionDeleted in the
Device Telemetry group (Device.DeviceConnectionAdded and Device.DeviceConnectionDeleted).
Only selected types are forwarded.
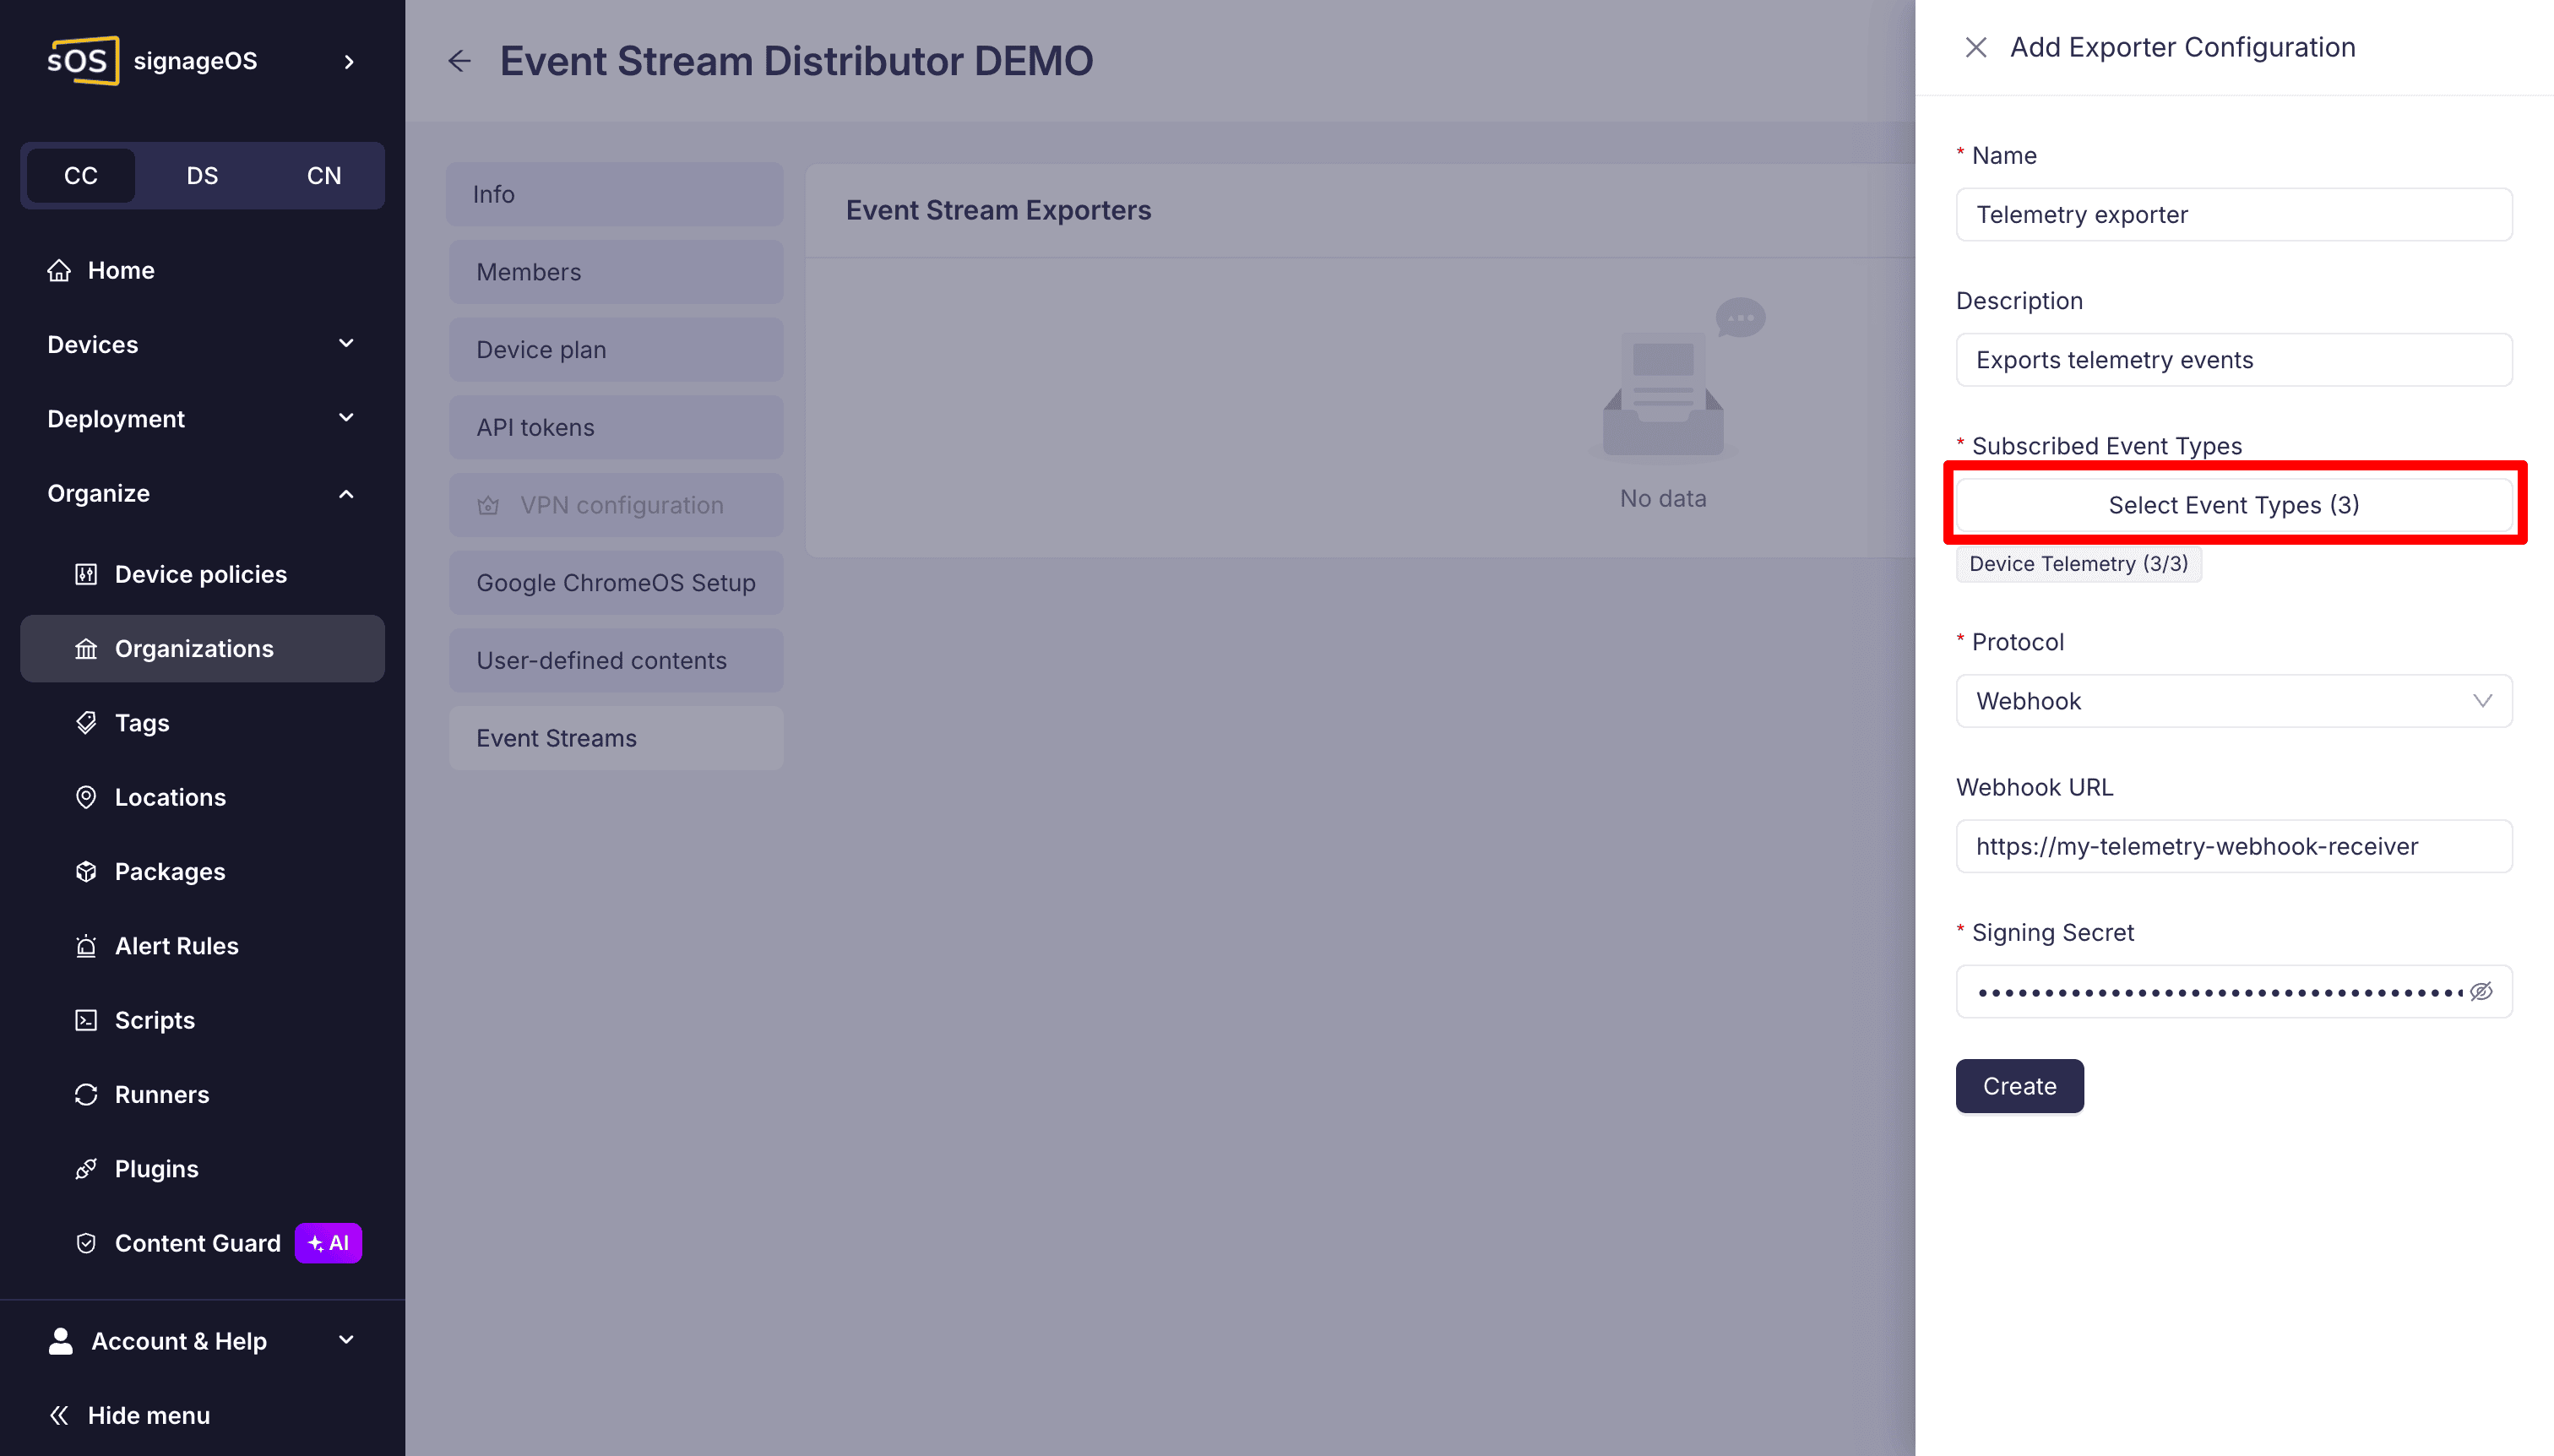
Save the exporter. It starts disabled.
Through the REST API
Use an Organization Auth Token.
Replace TOKEN_ID:TOKEN_SECRET with its ID and secret. Replace the example organizationUid with
your organization UID, config.url with your receiver URL, and config.auth.signing.secret with
your own secret of at least 32 characters. Do not use the example secret.
curl -X POST \
  https://api.signageos.io/v1/event-stream/exporter \
  -H 'Content-Type: application/json' \
  -H 'x-auth: TOKEN_ID:TOKEN_SECRET' \
  -d '{
  "organizationUid": "6bbbhah3edf692hh07abpbbc65g935cf56dhe100464fg29f9a",
  "name": "My Webhook Exporter",
  "enabled": false,
  "formatVersion": 2,
  "subscribedEventTypes": [
    "Device.DeviceConnectionAdded",
    "Device.DeviceConnectionDeleted"
  ],
  "config": {
    "configType": "webhook",
    "url": "https://example.com/webhook",
    "auth": {
      "authType": "httpSignedBody",
      "signing": {
        "algorithm": "HS256",
        "secret": "my-secret-key-at-least-32-chars!"
      }
    }
  }
}'
This example subscribes to connection changes. It sets "enabled": false, so the exporter stays disabled
until you enable it in step 3. It sets "formatVersion": 2. If you omit formatVersion, the exporter
uses version 1. See format versions before choosing the envelope.
A successful create returns 201 with a Location header. Fetch that URL with the same Organization
Auth Token and save the returned uid; use it as EXPORTER_CONFIG_UID in subsequent requests.
3. Enable delivery
In Box, turn on the exporter and confirm the action.
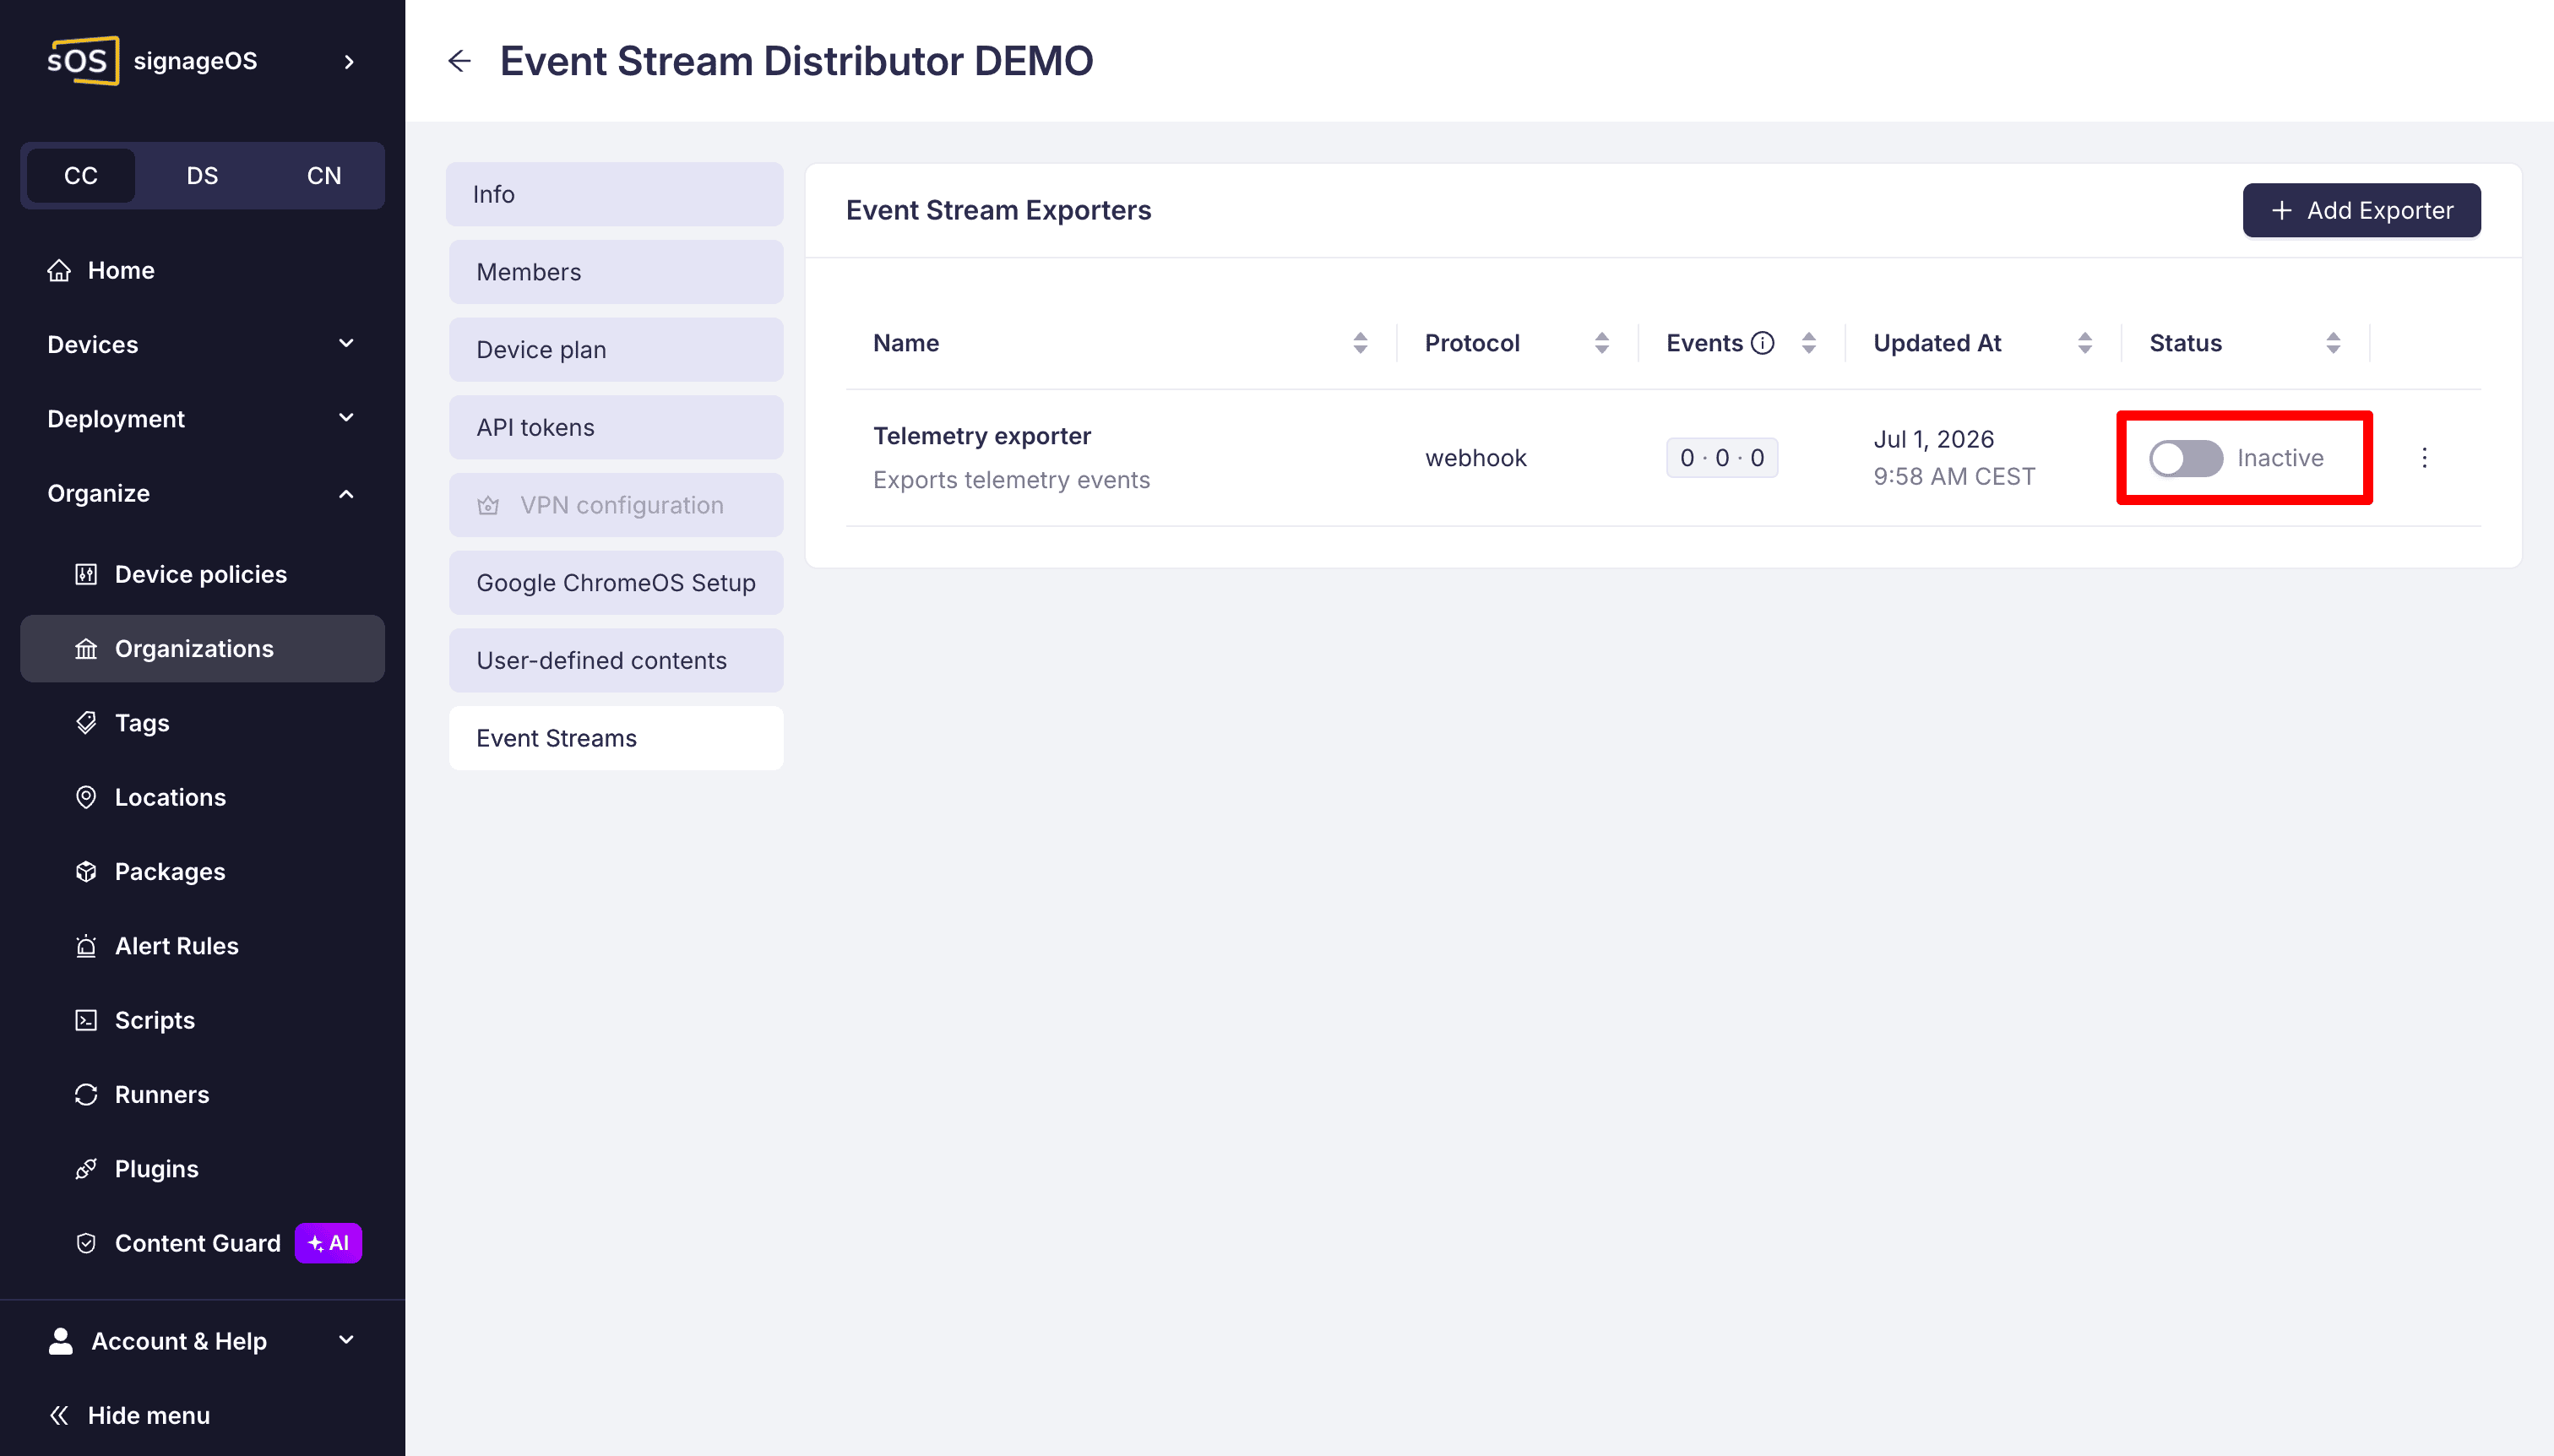
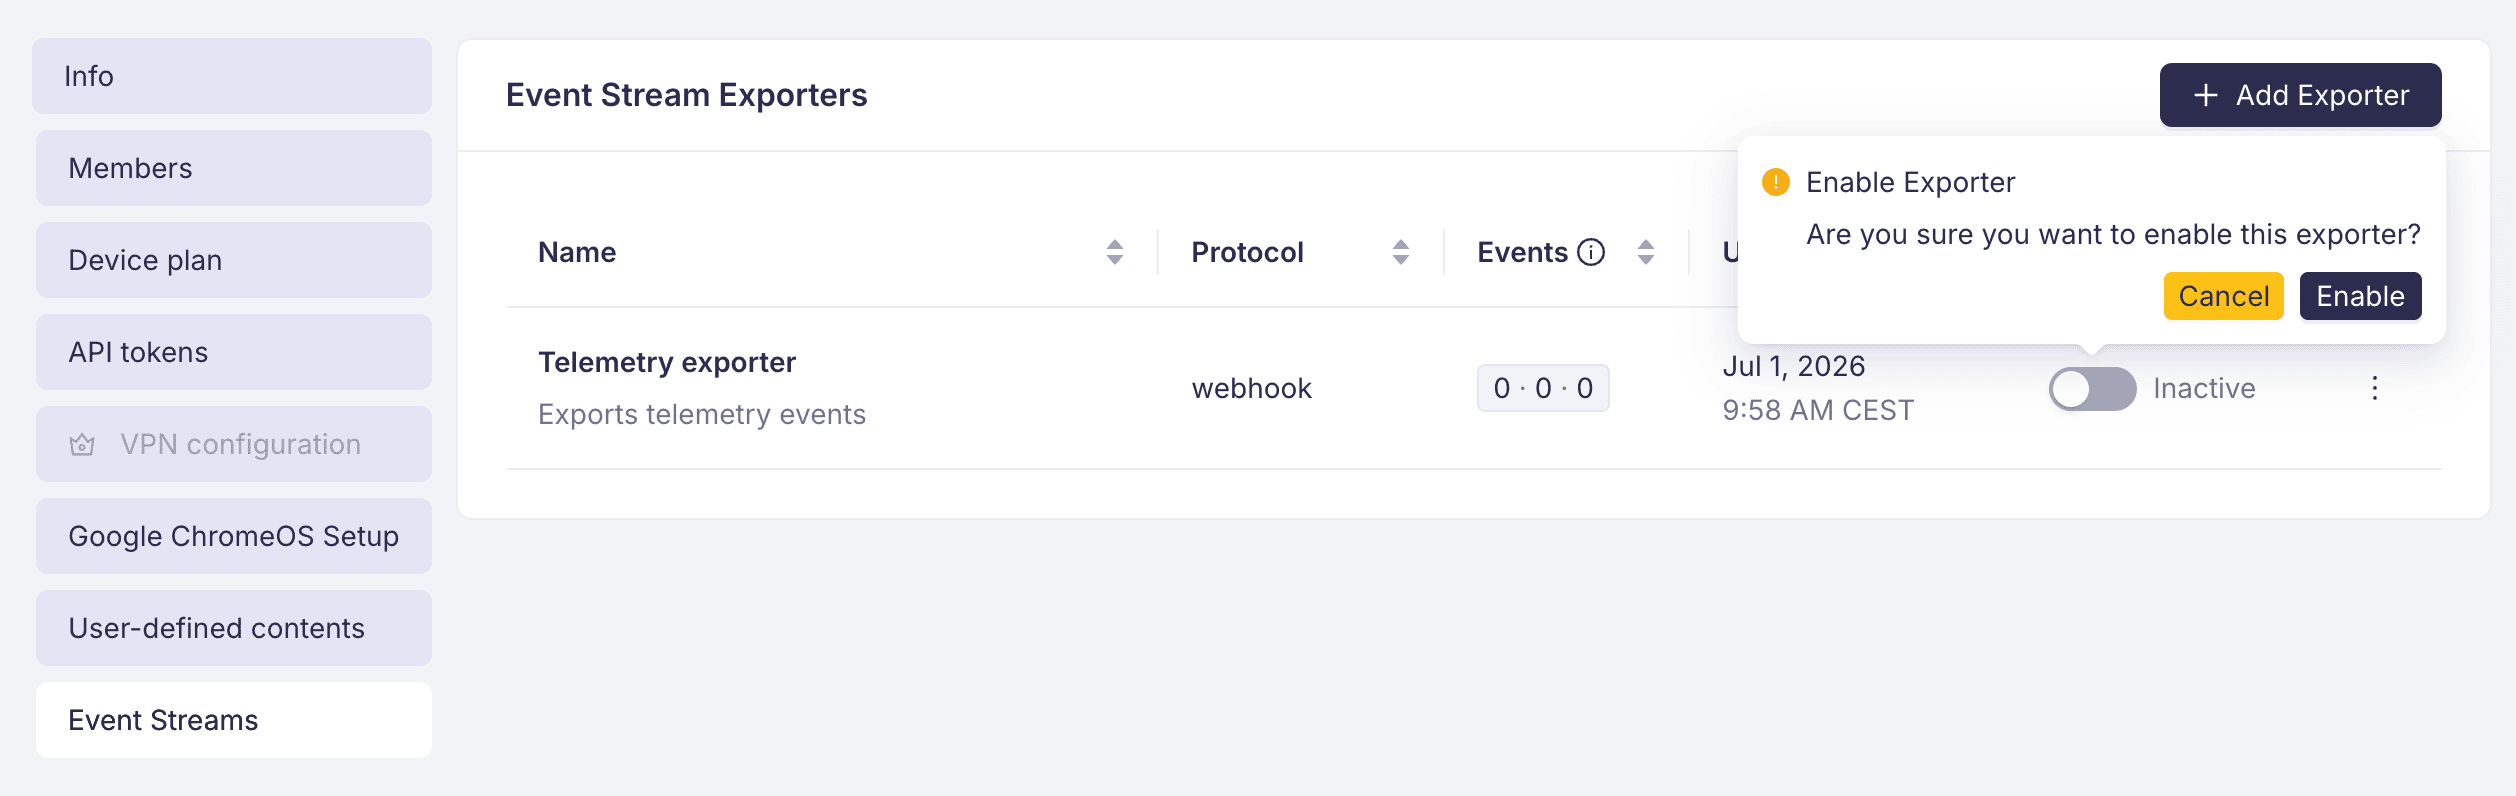
Alternatively, enable it through the API. This request preserves your selected event types:
curl -X PUT \
  https://api.signageos.io/v1/event-stream/exporter/EXPORTER_CONFIG_UID \
  -H 'Content-Type: application/json' \
  -H 'x-auth: TOKEN_ID:TOKEN_SECRET' \
  -d '{
  "enabled": true
}'
The API returns 204 No Content. For later changes, see Manage exporters.
4. Receive and verify an event
With your receiver running and the exporter enabled, disconnect and reconnect a test device in the
same organization. If you selected connection events, inspect the resulting webhook requests for
Device.DeviceConnectionDeleted and Device.DeviceConnectionAdded. Check the organization and device
in the payload against your test device.
Verify the signature before trusting the payload. Every delivery carries X-SOS-Signature in the
form v1=<base64> and X-SOS-Timestamp in Unix seconds. The signature version is independent of
the exporter's format version. Recompute HMAC-SHA256 over the concatenation of the uppercased HTTP
method, configured delivery URL, timestamp, and raw request body, with no separators:
const crypto = require('crypto');

function isValidSignature(method, url, rawBody, headers, secret) {
	const header = headers['x-sos-signature'] ?? '';
	if (!header.startsWith('v1=')) {
		return false;
	}
	const provided = Buffer.from(header.slice(3), 'base64');
	const payload = method.toUpperCase() + url + String(headers['x-sos-timestamp']) + rawBody;
	const expected = crypto.createHmac('sha256', secret).update(payload).digest();
	return expected.length === provided.length && crypto.timingSafeEqual(expected, provided);
}
Use the exact configured URL and original request bytes. Parsing and re-serializing JSON can change those bytes and invalidate the signature. A matching signature alone does not prevent replay: your receiver should also enforce a timestamp freshness policy and handle duplicate event IDs.
If no request arrives, check that the exporter is enabled, the event is selected, and the test device belongs to the exporter organization. Then check delivery health and recent failures and your receiver's HTTPS availability and response status.