solutionHub · Plan: 👑 Add-on — not in a standard Device PlanInstalling Items
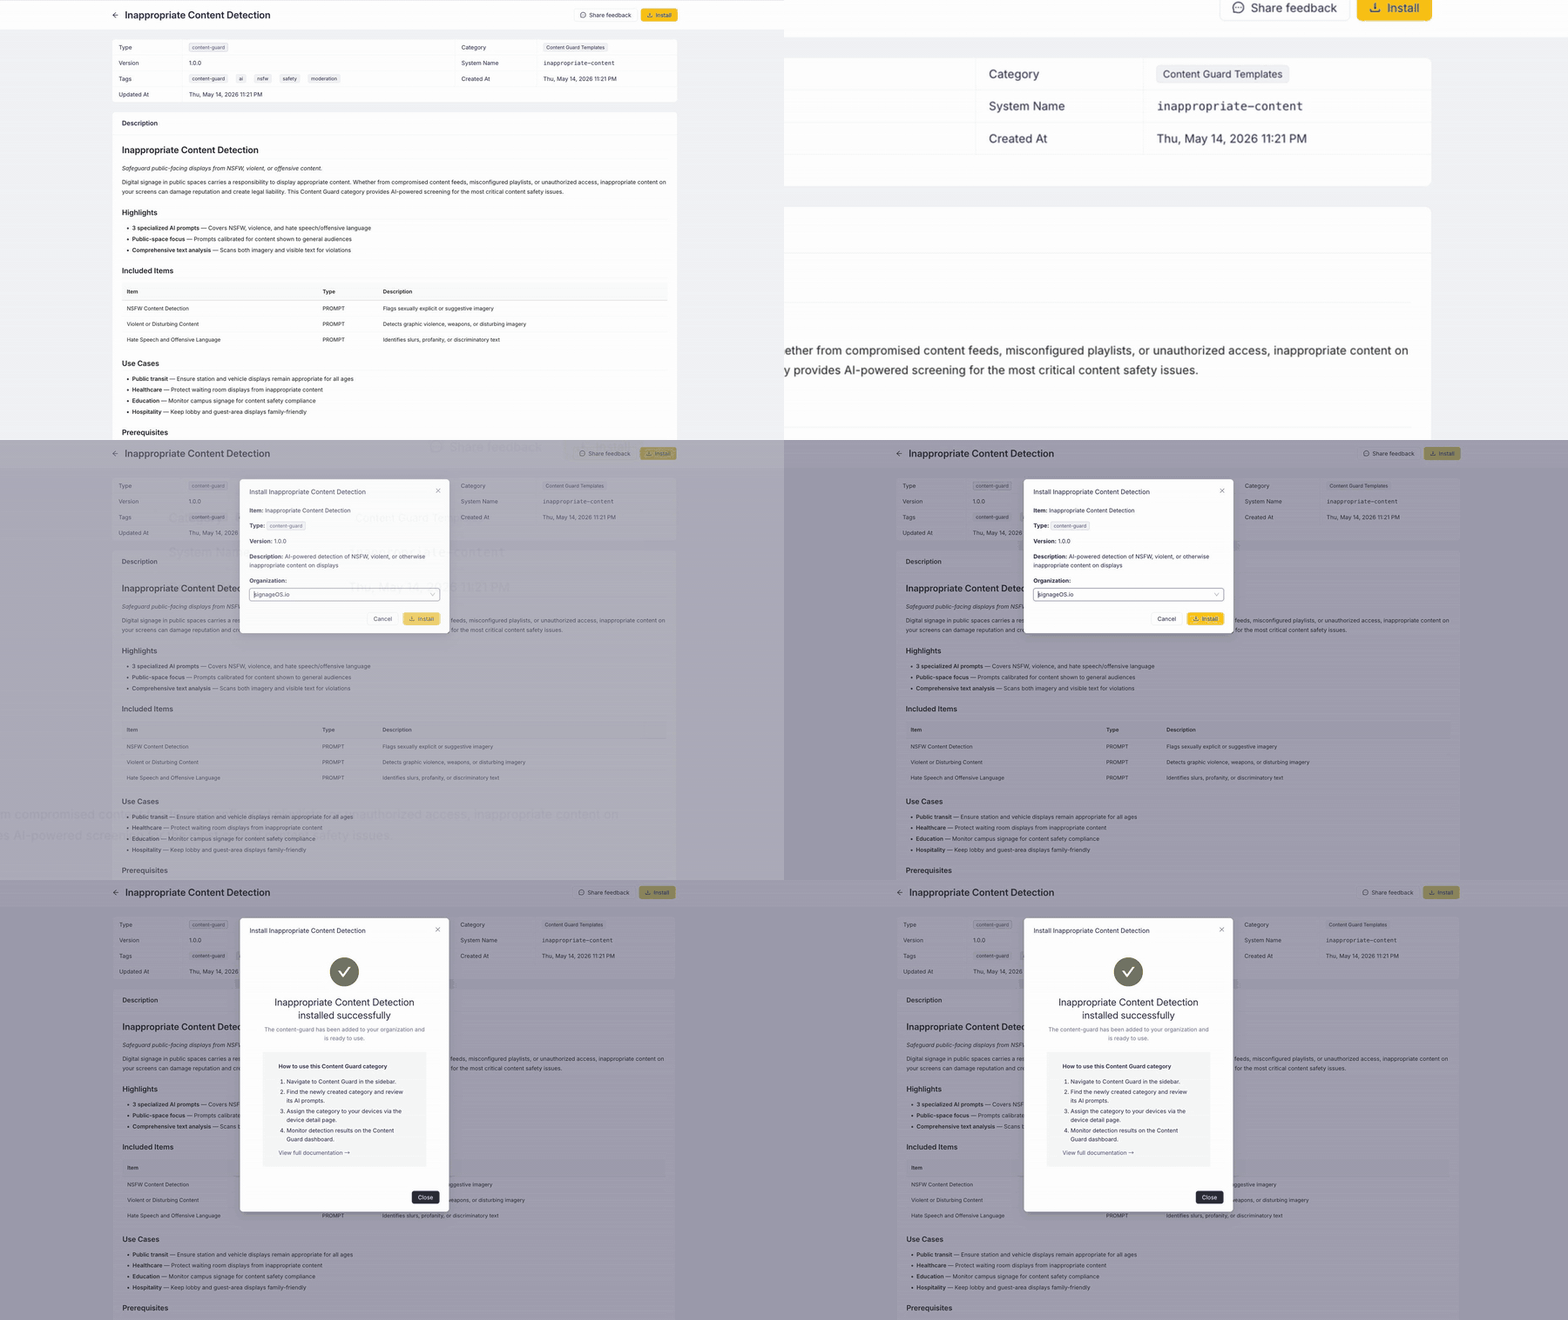
Click Install on an item card or on the item's detail page to open the install dialog.
Install dialog
- 1
Review the item
The dialog shows the item name, type, version, and description so you can confirm you are installing the right item.
- 2
Select organization
Choose the target organization where the item will be created. Organizations that lack the required feature entitlement for the item type are marked with a crown icon and cannot be selected.
- 3
Accept the Terms & Conditions
If the item ships its own Terms & Conditions, tick the I agree to the Terms & Conditions checkbox. Click the Terms & Conditions link to read them in a side drawer. Items without terms skip this step.
- 4
Install
Click Install. The dialog creates the entity, uploads the platform-specific source code or applies the template payload, and shows progress. Most items install in a few seconds.
- 5
Follow post-install guidance
After a successful install, the dialog shows next steps specific to the item type:
Item Type Next Step Applet Assign to a timing on your devices Script Execute via bulk operations or individual device actions Plugin Add to a device policy for automatic enforcement Runner Schedule on your devices Alert Rule Configure thresholds and notification recipients Content Guard Assign the category to your devices Each guide includes a View full documentation link for detailed instructions.
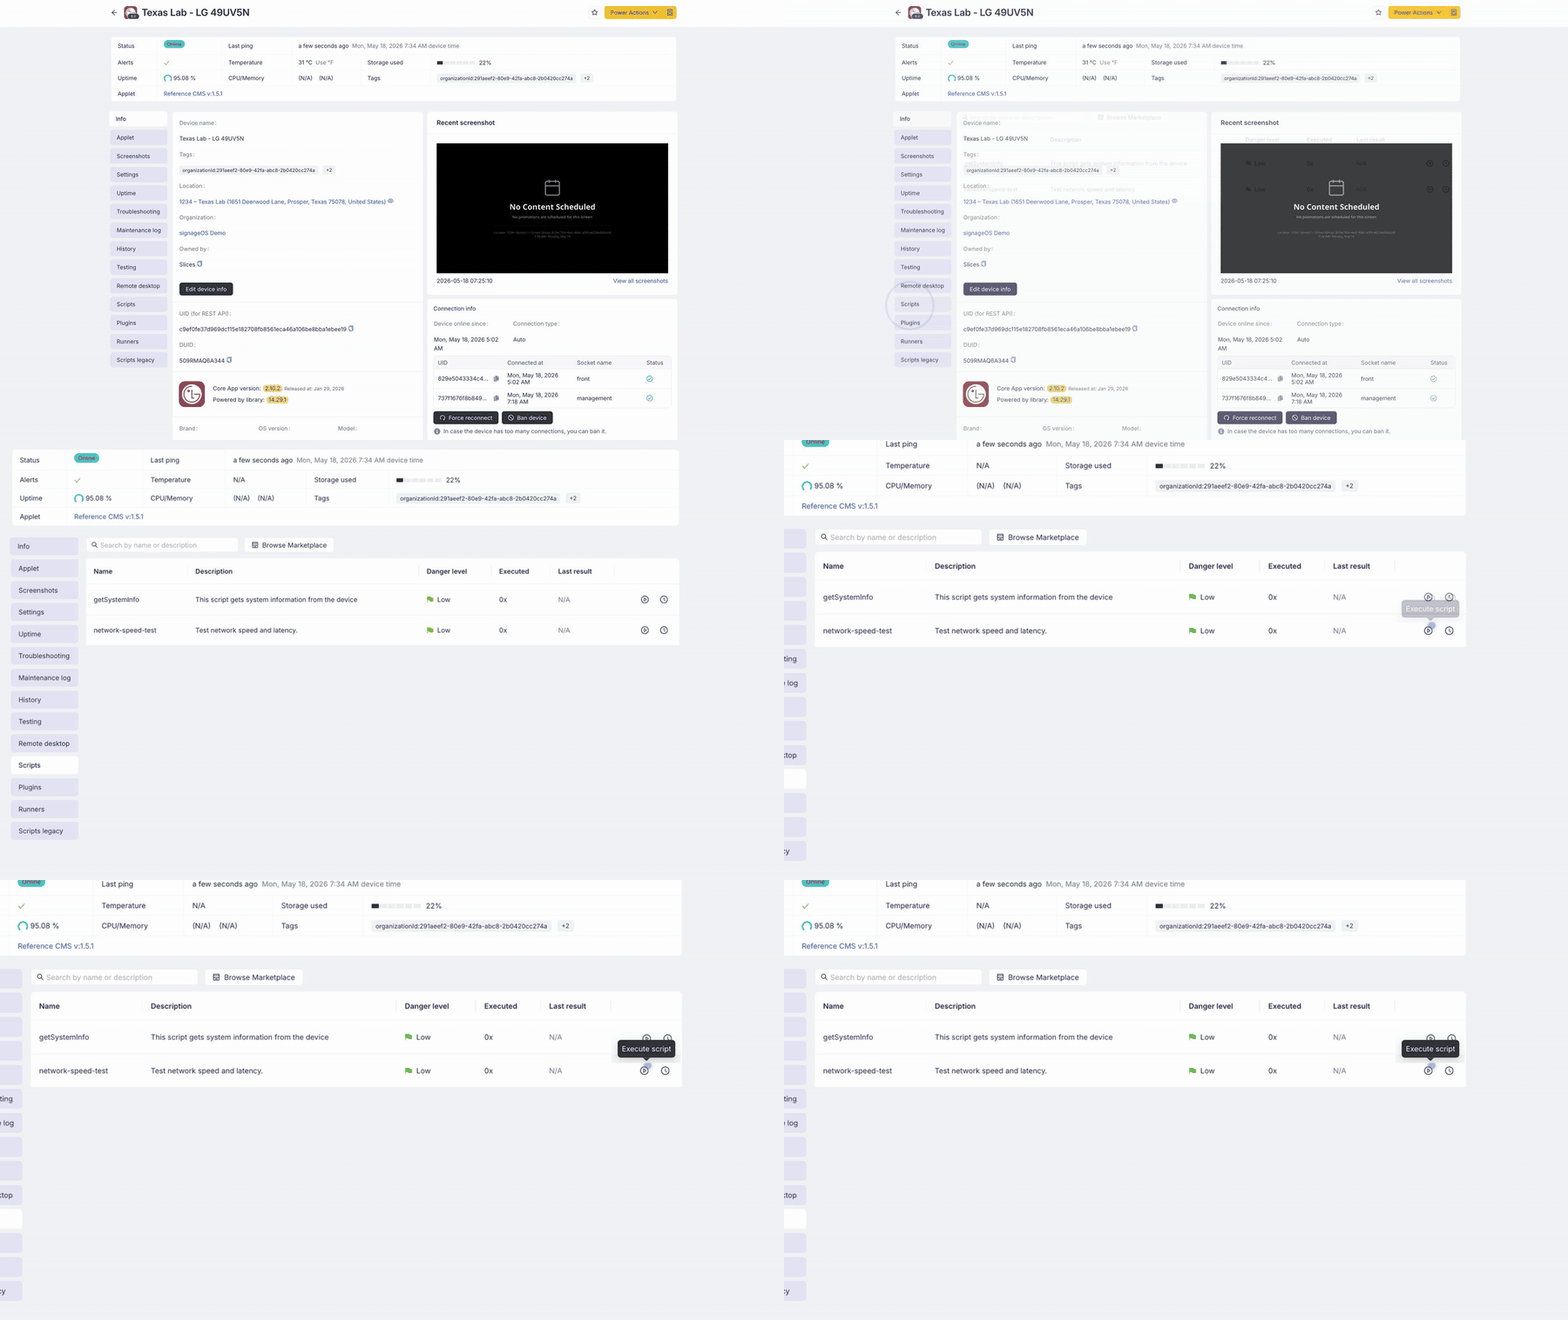
Once the install finishes, the item is a regular entity in the selected organization — for example, an installed script appears on the Custom Scripts tab of your devices, ready to be executed.
Installed status and upgrades
The Solution Hub tracks what you have already installed. An item's detail page lists the organizations the item is installed in, together with the installed version.
If the item already exists in the selected organization, the dialog asks you to confirm before continuing:
- When the installed version is older than the catalog version, confirming upgrades that existing installation instead of creating a duplicate.
- When the installed version is current, confirming installs another separate copy.
You can also start an upgrade directly from the Available in organizations card on the detail page — use Upgrade to v{version} next to the organization. Upgrading runs the same dialog in upgrade mode and replaces the existing entity's source with the new version.
Troubleshooting
Item type locked for an organization
If every organization is marked as lacking the required plan, your organizations do not have the feature entitlement for that item type. Applets require DevSpace; Scripts, Plugins, Runners, Alert Rules, and Content Guard each require their corresponding entitlement, and some alert rule types and AI-based Content Guard templates require an additional one. See Feature entitlement gating and contact your account manager.
Installation errors
- Check the error message shown in the dialog
- Verify your organization has not reached entity limits
- Retry — transient network issues may cause temporary failures
- If the problem persists, contact signageOS support